Container Rental for Construction Sites: Keeping Your Project Neat and Compliant
A planning guide to container rental on building sites: estimating waste, picking sizes, sorting materials, placing skips safely and following local rules.
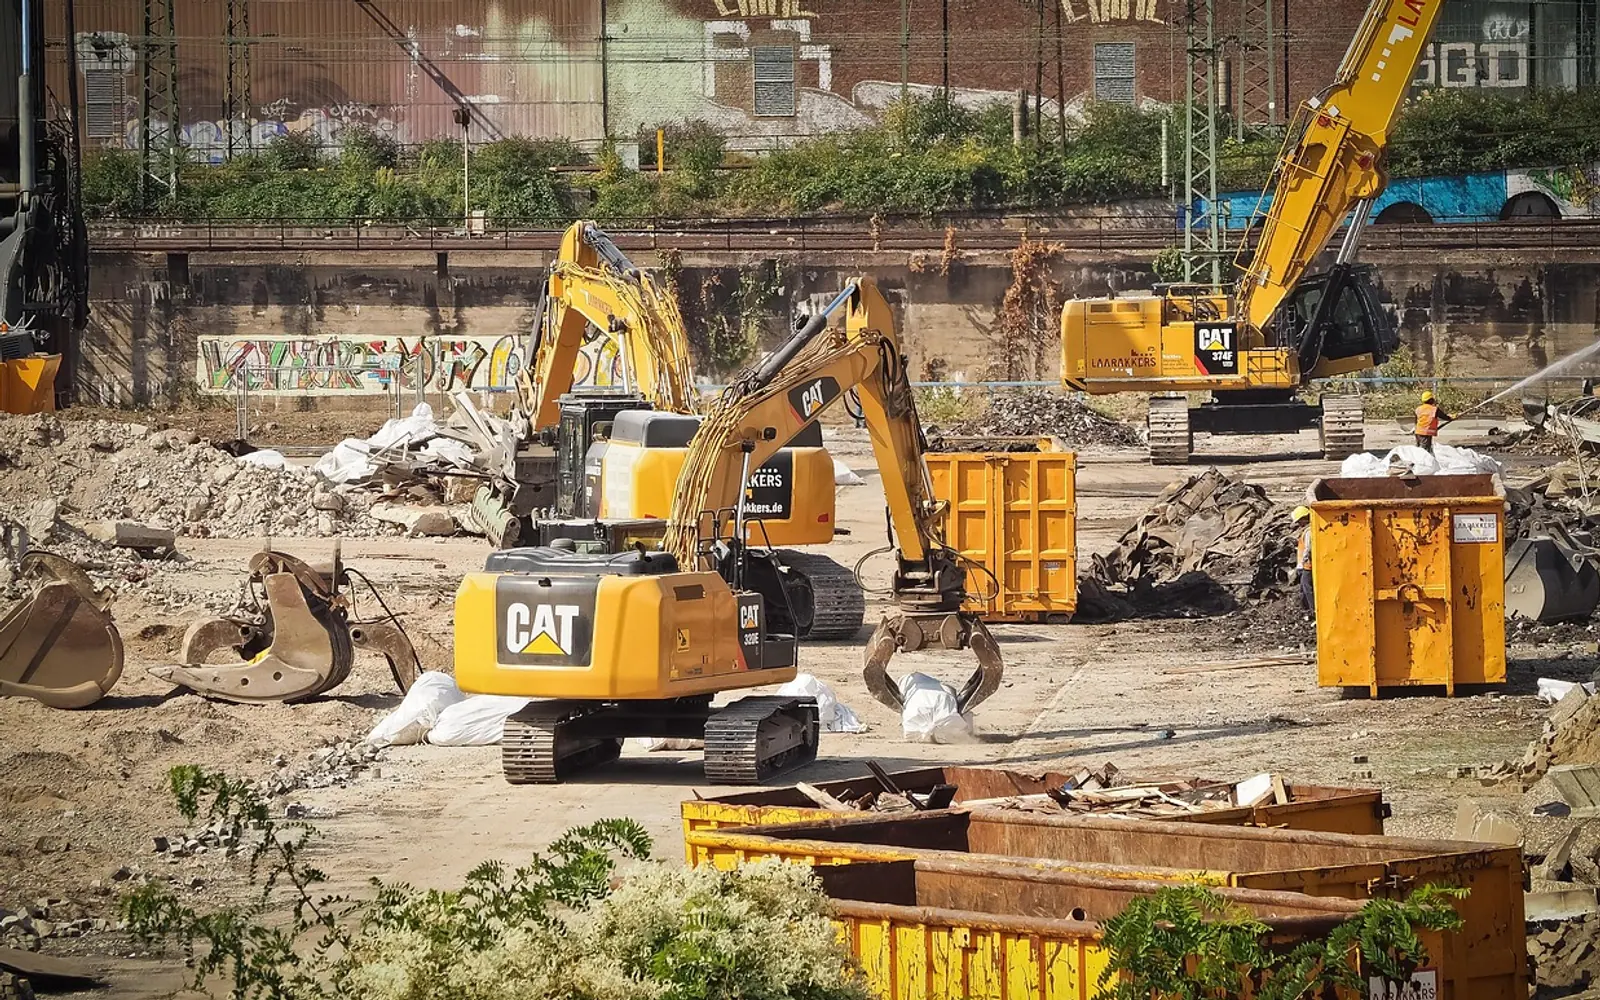
Every building project produces waste long before it produces a finished room. Offcuts, packaging, rubble, old fittings and soil pile up from the first day, and without a plan they quickly spread across the site. Rented containers bring order to that chaos. The trick is to treat waste as part of the project schedule rather than an afterthought, and to set things up in the right sequence.
Step 1: Estimate what the job will throw away
Start with the phases of work. Demolition and stripping out generate heavy, bulky loads; the build phase produces timber, plasterboard and packaging; finishing leaves smaller amounts of mixed material. Listing these phases helps you predict when volumes peak and which kinds of waste will dominate at each stage. A container company can usually advise on realistic quantities if you describe the scope of the work.
Step 2: Choose sizes and the number of containers
| Project type | Typical approach |
|---|---|
| Bathroom or kitchen refit | One small container, swapped when full |
| House renovation | A medium container plus a separate one for rubble |
| New build or extension | Several containers for different material streams |
| Demolition | Large, robust containers suited to heavy mineral waste |
Heavy materials such as concrete and brick often have weight limits per container, so a smaller unit filled with rubble may be wiser than one oversized skip.
Step 3: Sort at source
Keeping material types apart from day one makes collection simpler and lets more of it be recycled. Common streams include:
- rubble: concrete, masonry and ceramic tiles;
- untreated and treated wood;
- metals;
- plasterboard;
- mixed construction waste.
Materials such as asbestos, old paint, solvents or contaminated soil need special handling and must never go into an ordinary container. Ask your provider which streams they accept and how hazardous items should be dealt with.
Step 4: Place containers safely and legally
Put containers on firm, level ground where delivery trucks can reach them without crossing fresh foundations or narrow paths. Keep walkways clear so workers are not stepping around debris, which reduces trips and falls. Where a skip must sit on a street or footpath, many local authorities require a permit and proper lighting or signage, so check the rules in your municipality before delivery day.
Working with a local partner makes this stage far easier. Builders in the area often rely on a dependable containerdienst Hanau because a nearby company knows the regional disposal requirements, can recommend suitable container types and fits deliveries and collections around the rhythm of the site.
Step 5: Keep the rhythm going
Agree on a swap schedule in advance and adjust it as the work progresses. A container that overflows creates mess and safety hazards, while one collected half empty wastes money. Assign one person on site to watch fill levels and call for exchanges in good time. Keep delivery notes and disposal records together with the rest of the project paperwork, since they may be needed for inspections or later documentation.
Handled this way, waste management fades into the background. The site stays tidy, the crew moves freely, materials are recycled where possible and the project stays on the right side of local regulations from groundwork to handover.